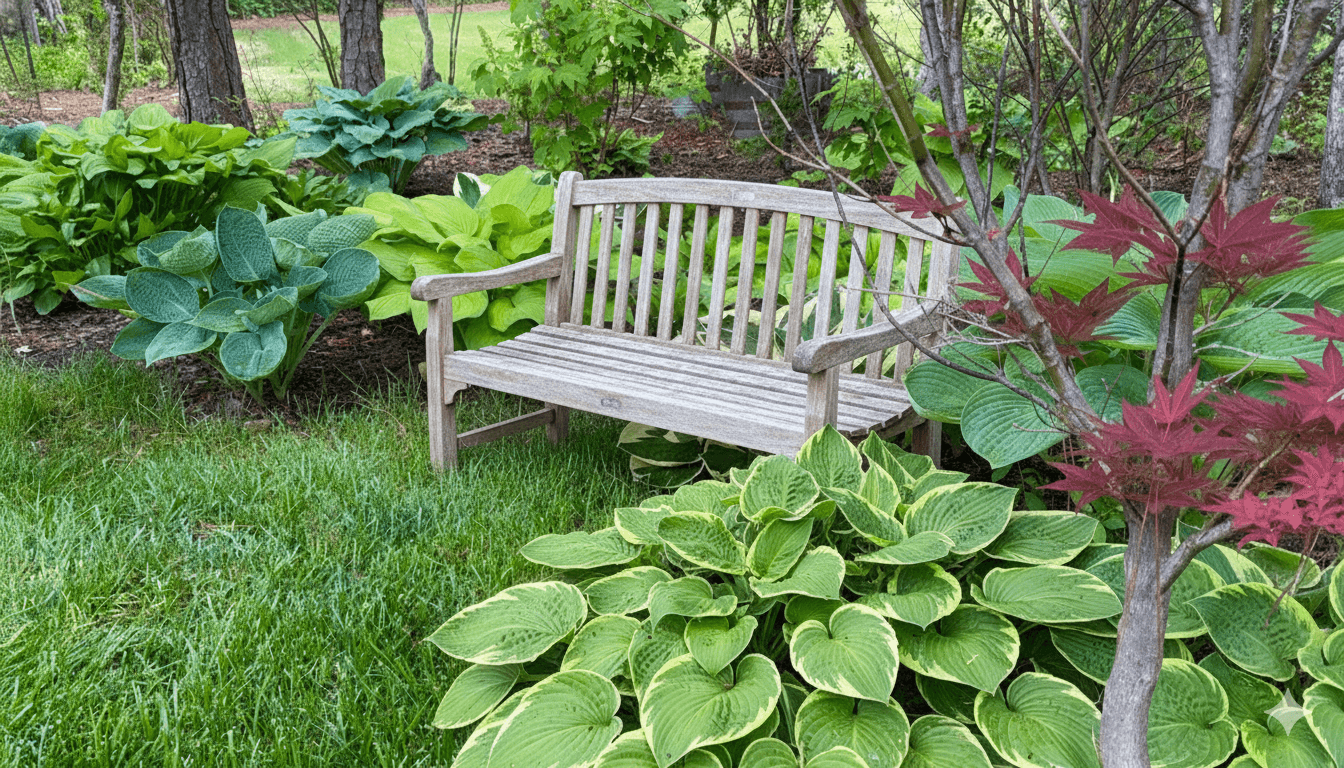
There is a unique tranquility that comes with stepping into a cool, shaded corner of your property. That wooded area, often overlooked or simply treated as a backdrop, holds the potential to become the most cherished spot on your land, a private retreat where family and guests can gather, relax, and connect. The idea of transforming that wild space into a purposeful shade garden gathering spot is exciting, but for many homeowners, the dream quickly bumps up against a difficult question: Where do I even begin, and do I have everything I need to do this? Clearing woods, managing roots, and defining a usable space can feel overwhelming, leading many to postpone the project indefinitely. You might worry about the expense of contractors versus the sheer physical labor of DIY.
The truth is, creating this retreat is entirely possible. It requires a strategic approach, the right tools, and an honest assessment of your time and capabilities. This guide will walk you through the process, proving that this is a beautiful, rewarding project you absolutely can do.
The Strategy: Defining Your Sanctuary’s Location
Before lifting a single rake, you must choose the perfect location for your shade garden. This decision is about more than just aesthetics; it's about function, connection, and long-term viability.
Assessing the Environment:
The Shade Imperative: A shade garden, by definition, requires consistent shade. Identify areas that receive dappled light or full shade (less than three hours of direct sun per day). The best locations are often under the canopy of mature trees, which also provide that established, natural ambiance.
Existing Clearing Advantage: Look for areas that have already experienced some natural clearing, perhaps due to past yard work or natural thinning. Starting with a partially cleared space will immediately limit the sheer amount of work required and save significant time and energy. This is truly important because it lays the foundation for the natural layout of the environment. All it took for me was taking the time out to view and assess the wooded areas around my home and I was able to find the perfect spot that required minimal labor compared to other wooded areas around our home. You would be amazed at what you can find when you take the time to look.
The Proximity Check: Consider the location in relation to your home. Is it a convenient, natural flow from the back patio or deck? A gathering spot that is too far removed from the house can be challenging to use often, especially for evening events or quick escapes. Choose a spot that feels accessible and integrated into your daily life.
Defining the location is the foundation. It transforms the project from a general idea into a specific, manageable goal.
The Execution: Clearing and Prepping the Space
Once your spot is identified, the work begins. Many homeowners consider tackling the clearing themselves to save money. This is entirely feasible, but it requires realistic expectations about the labor involved.
The DIY Clearing Decision: The decision to hire a contractor versus doing it yourself hinges on three factors: the size of the area, your time constraints, and the density of the undergrowth. If the area is small, relatively clear, and you have time on weekends, DIY is viable. If you're dealing with a half-acre of thick briars, established saplings, and heavy roots, investing in a contractor for the initial clearing and heavy lifting is often the most economical choice in the long run. Your back will love you for it!
If you choose the DIY route, having the right tools is non-negotiable for safety and efficiency.
Essential Tools for the Shade Garden Pioneer:
The Clearing Crew (Heavy Work): Bow Saw or Pruning Saw: For cutting through small to medium-sized limbs and saplings. Loppers (Long-Handled Pruners): Essential for easily cutting through thick shrubs, vines, and brush. Mattock or Pickaxe: Critical for breaking up compacted soil and cutting through shallow, stubborn roots (use caution around tree trunks). Heavy-Duty Rakes (Iron/Bow Rakes): For gathering debris, sticks, and surface matter.
The Planting Power (Finer Work): Serrated Shovel (or Edging Shovel): Perfect for cutting sharp edges in the soil, digging holes, and dealing with smaller root systems during planting. Garden Tiller (Rental Option): If you plan to create defined planting beds, renting a small tiller can help loosen and aerate the soil, especially if it’s been untouched for years. Note: Use with caution near established tree roots.
The Transport & Safety Team: Wheelbarrow: Essential for moving debris out and bringing soil/mulch in. Thick Gloves & Eye Protection: Safety must be paramount when dealing with sharp tools and flying debris.
The Design: Defining the Gathering Zone
With the area cleared, you can now focus on the aesthetic and function of your gathering spot. The goal is a space that feels visually inviting and promotes relaxation.
Define the Floor: The ground cover is your new floor. In a shade garden, grass won't typically thrive. Instead, consider a layer of mulch (cedar or pine are aromatic and attractive), or install a gravel patio using permeable pavers. A defined, level area grounds the entire space.
The Focal Point Furniture: Since this is a gathering spot, your furniture is your anchor. Look for durable, moisture-resistant pieces. Adirondack chairs, a simple teak bench, or a small bistro set are perfect. The furniture should be comfortable but not so large that it overwhelms the intimate nature of the space.
Illumination for Ambiance: Don't forget the lighting. Because you're in a wooded area, hardwiring might be difficult or expensive. Use solar stake lights along paths, battery-operated lanterns on tables, and string fairy lights or Edison bulbs hung between tree trunks to create a magical, intimate canopy.
The Plantings: Embracing the Shade
The true beauty of a shade garden lies in its unique planting palette. You'll be working with greens, textures, and subtle colors that thrive without direct sunlight.
Structure and Height: Use larger shrubs like Hydrangeas (look for shade-tolerant varieties) or Rhododendrons to provide structure and act as living walls, defining the edges of your gathering spot.
Texture and Groundcover: Hostas are the champions of the shade garden, offering incredible variety in leaf size, color (blue, green, variegated), and texture. Use large groups of ferns (like the Japanese Painted Fern) for a soft, ancient look. For groundcover, consider Creeping Jenny or Astilbe for height and wispy color.
Bringing in color: While many shade plants are green, you can introduce pops of color with Impatiens (for annual color) or the stunning, long-blooming flowers of Hellebores (Lenten Rose), which often bloom even in late winter.
The key to planting in a wooded area is to work with the trees. Avoid deep digging near established trunks and enrich the existing soil heavily with compost before planting anything.
Resolution: This Is Something You Can Do
The transformation from wild woods to wondrous retreat is a journey, not a sprint. It begins with a strategic vision for location and a realistic assessment of the clearing work. Whether you use your own effort and a rented tiller or invest in a contractor for the initial heavy lift, the outcome is the same: a beautiful, intentional space that enhances your property and your quality of life. By following this approach - defining the location, prepping the ground with the right tools, designing the gathering zone, and embracing shade loving plants - you are taking control of your unused space. This project is a testament to the idea that the greatest improvements to your home don't always happen indoors.
Ready to Find Your Shaded Sanctuary?
If you feel confident about the clearing but need a professional eye to finalize the layout, choose the best furniture, or select the perfect shade-tolerant plant palette, our team is here to help you finalize that vision.